Step-by-Step: How to Build a Timber Post and Rail Fence
Our Guide to Building a Timber Post Rail
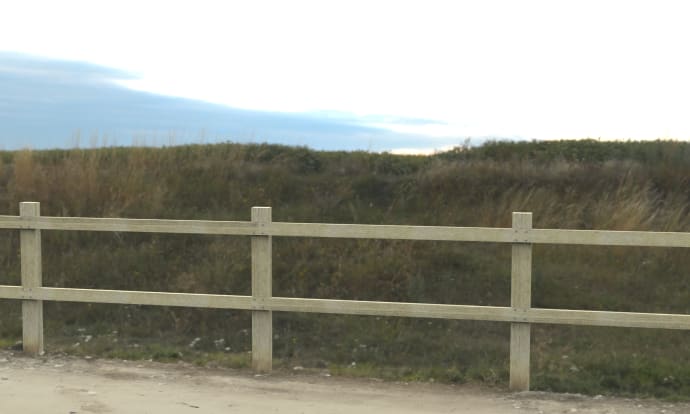
Transform your space today! A timber post and rail fence is one of the most versatile and cost-effective fencing solutions for gardens, paddocks, and property boundaries. With its natural appearance and sturdy construction, it offers both function and style. This guide takes you step by step through the installation process, covering the tools, materials, and techniques needed for a durable, long-lasting result.
Why Choose Timber Post and Rail Fencing?
Durable: With the right treatment, timber fencing can last many years.
Low Maintenance: Occasional treatment keeps it looking its best.
Versatile: Perfect for gardens, paddocks, and rural boundaries.
Cost-Effective: A simple and affordable fencing solution.
Step-by-Step Guide
Step 1
Before you start, double-check that you have all the necessary tools and equipment for the job.
- Saw
- Level
- Tape Measure
- Screwdriver or Power Drill
- Hammer
- String
- Safety Gear
- Timber post and rail products
- Post Mix
Gather all these items together so you have everything in place, ready for you to start the installation.
Step 2
Look at the ground, is it a suitable area to install the timber post and rail fencing?
If so, plan out the layout of your post and rail fence using your string to make sure your fence line is exactly where it needs to be.
Sometimes it might be tempting to just get started, but these earlier preparation steps can help avoid any errors in future steps.
Step 3
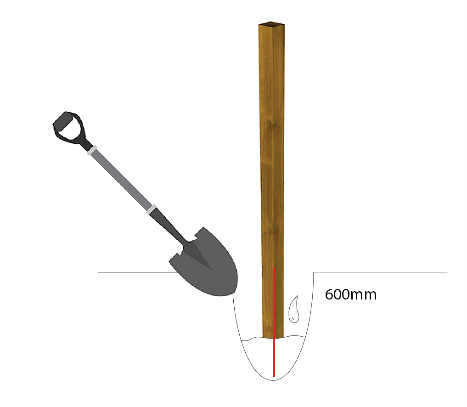
Dig the foundation holes 600mm deep by 350x450mm wide for each post.
Ensure the holes are spaced correctly for your posts and set using the post mix.
Step 4
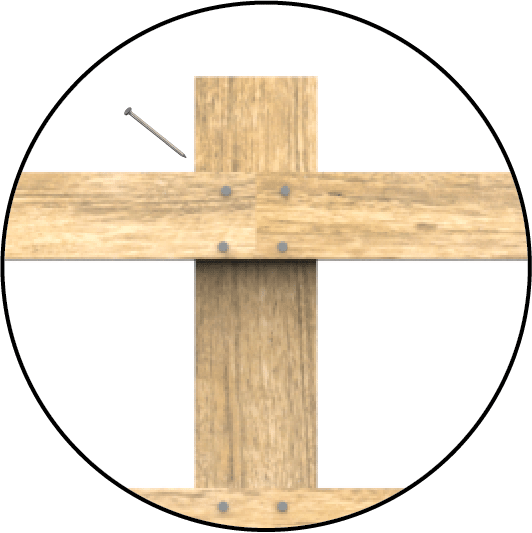
Once the posts are securely in place, attach the rails to the posts with nails.
Make sure that you use 2 nails per post end.
Step 5
Inspect your timber post and rail fencing, and make sure that everything is in the correct place and position before it completely sets, and you cannot change it.
You can also look to add treatment if you wish once everything is in position.
Step 6
Ensuring that you make time to regularly inspect your timber post and rail fencing is very important; this will help minimise any damage and deal with any imperfections as soon as possible.
Practical Tips for a Stronger Fence
Space posts evenly to avoid sagging rails.
For paddocks, consider three or four rails for strength and livestock safety.
Use galvanised nails or screws to prevent rust.
Always wear safety gear when using tools and working with timber.
Related Products
If you’re planning a project, you may also want to consider our wider range of fencing and landscaping solutions. Knee Rail Fencing offers a simple, low-level timber barrier that is ideal for marking boundaries in parks, schools, and gardens. For a more sustainable option, Recycled Plastic Fencing provides a durable, eco-friendly alternative to timber with the added benefit of requiring minimal maintenance. We also supply Timber Sleepers, which are perfect for landscaping projects such as creating raised beds, edging pathways, or reinforcing boundaries alongside your fencing installation.
You can always look to help the wood by applying a treatment every so often, along with sanding down any imperfections, to help your post and rail fencing be a long-lasting solution.
The timber post and rail fencing not only enhances the aesthetics of an outdoor space, but it also provides a functional boundary.
With the high-quality timber products supplied by First Fence, when following this step-by-step guide, your fencing should be a long-lasting solution that is suitable for a range of applications.