Installing the Locinox Volta Battery Code Lock: Complete Guide
Product Overview & Key Features of the Locinox Volta Battery Code Lock
Learn how to fit and configure the Locinox Volta surface-mounted battery-powered electronic code lock for swing gates with this step-by-step video guide. Available to order online today from First Fence, this standalone electronic lock brings digital access control to perimeter gates without the hassle of hardwired mains cabling.
✨ Product Overview & Key Features
🔋 Battery-Powered Autonomy: Standalone access control operating on an internal battery pack—eliminating the need for complex electrical wiring.
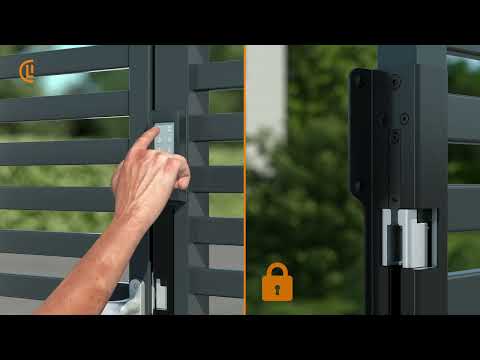
🔢 Illuminated Electronic Keypad: High-grade weather-resistant keypad with illuminated keys for effortless night-time operation.
🚪 Surface-Mounted Flexibility: Mounts directly onto hollow metal gate profiles, making it ideal for retrofitting existing gates or new installations.
🔒 Single & Double Keypad Options: Configurable for single-sided PIN entry (exterior code access) or double-sided keypad access control.
⚡ Quick-Fix Mounting: Securely anchors to post profiles using patented Quick-Fix expander bolts with an adjustable 20mm latch bolt throw.
🛠️ Step-by-Step Installation
Mark Hole Positions: Position the alignment template on the gate profile up to 400mm above the lock position and mark hole centres using a punch and hammer.
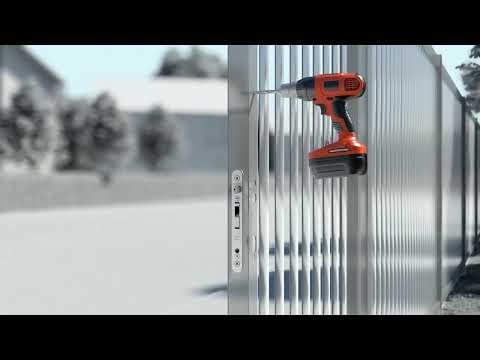
Drill Profile: Drill four 8mm mounting holes and two 18mm cable pass-through holes into the profile using a power drill.
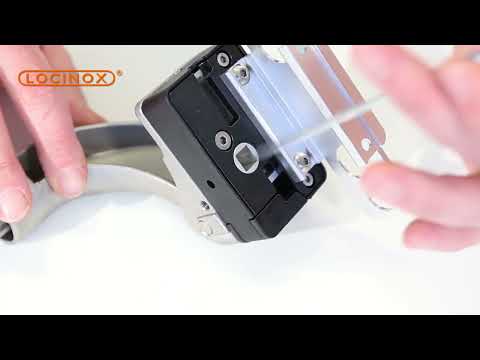
Fit Keypad & Battery Casing: Pass the wiring harness through the profile, mount the rear battery casing, insert the battery module, and fasten the cover with a 3mm hex key.
Assemble Lock Body: Fit the handle spindle, lever handles, and Europrofile cylinder into the surface-mounted lock housing.
Mount Lock Casing: Connect the keypad wiring harness to the surface-mounted lock unit and fasten the assembly to the gate profile using Quick-Fix expanders.
Adjust Latch & Test: Fine-tune the 20mm latch bolt protrusion using a 3mm hex key and test the electronic keypad access control.
🧰 Tools Required
3mm Hex / Allen key
Screwdriver / PH2 driver bit
Power drill with 8mm and 18mm drill bits
Hammer and centre punch
📞 Contact Us
☎️ Call us: 01283 512 111
🌐 Visit Website: https://firstfence.co.uk/
📧 Email: sales@firstfence.co.uk
💼 LinkedIn: /firstfenceltd
💬 Facebook: /firstfenceltd