Locinox MAG3000 & MAG6000 Magnetic Lock Setup Tutorial
29 September 2026Appears in Product Videos
Step-by-Step Fitting of Locinox MAG3000 & MAG6000 Magnetic Lock Setup Tutorial
Learn how to fit, wire, and configure the Locinox MAG surface-mounted electro-magnetic lock set with integrated handles. Engineered for seamless access control integration on swing gates, this step-by-step guide covers complete mechanical mounting and armature handle assembly across various gate profile thicknesses.
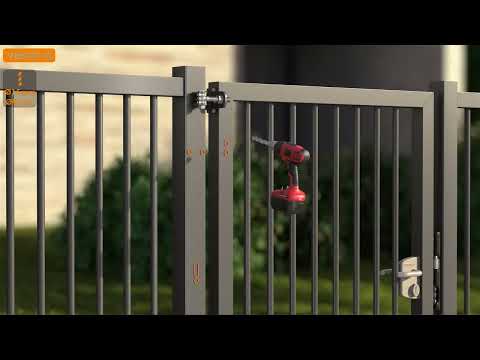
- Drill Post & Gate Profile: Prepare three 15 mm mounting/cable holes in the post and four 11 mm holes in the gate leaf.
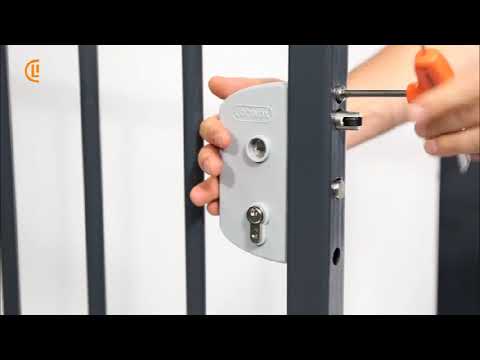
- Feed Cable & Mount Magnet: Thread power wiring through the post hole and secure the main magnet body.
- Fasten Magnet Body: Secure the magnetic lock housing flush against the post using Quick-Fix expanders.
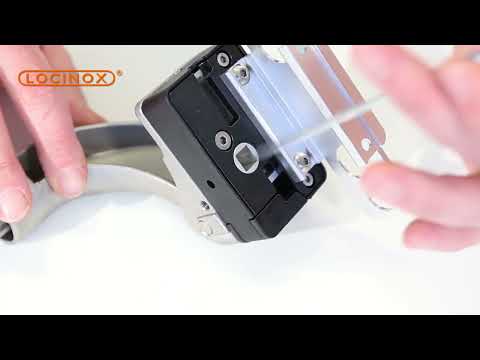
- Prepare Armature Handle: Select the correct bolt set for your gate profile thickness (40–100 mm) and insert rubber buffers into the armature housing.
- Assemble Gate Handles: Position the inner armature handle and outer push handle onto the gate leaf.
- Secure Fixing Bolts: Tighten the securing bolts to lock both handles and the armature plate in place.
- Test Magnetic Latching: Power on the circuit and test magnetic holding force and access control release cycles.
Tools Required
Hex / Allen key set
Power drill, 11 mm & 15 mm drill bits
ape measure & spirit level
Featured Products
🔒 Locinox MAG3000 Surface-Mounted Magnetic Lock
🔒 Locinox MAG6000 Surface-Mounted Magnetic Lock
📞 Contact Us
☎️ Call us: 01283 512 111
📧 Email: sales@firstfence.co.uk
💼 LinkedIn: /firstfenceltd
💬 Facebook: /firstfenceltd
Recent Videos

Related Videos
Category
Recent Videos
Related Videos