How to Install Palisade Fencing: Step-by-Step Guide
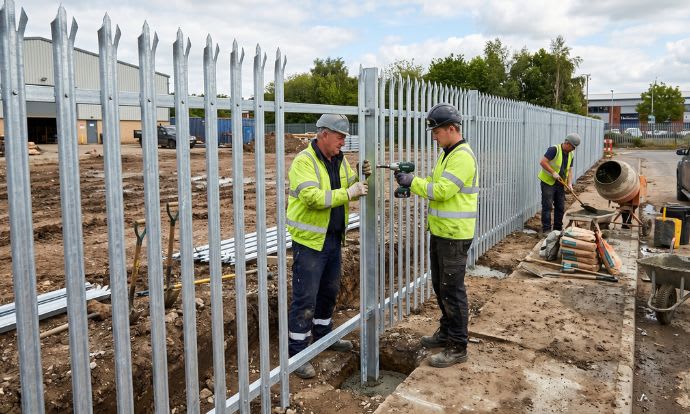
Palisade is often installed at industrial sites, commercial properties, and public areas. Below is a guide to installing a palisade fencing system using either dig-in posts or bolt-down posts, depending on your site conditions.
Before You Start
Before any installation work begins, plan your fence line carefully. Check all measurements and ground conditions, and ensure all components and fixings are on site. You also need to determine which type of palisade would be best for your site.
Each fencing bay is typically 2.75m wide, so post spacing should be set accordingly.
Option 1: Dig-In Post Installation
This is the most common installation method and is suitable for soft ground where posts can be set in concrete.
Step 1: Mark and dig post holes
Dig foundation holes for all posts, spacing them 2.75m apart to match each fencing bay.
Hole size and depth will depend on:
- Post height
- Ground conditions
- Site load requirements
Step 2: Set posts in place
Position each post in its hole and secure using Post Mix.
As a general guide:
- 1.8m–2.1m posts: approximately 2 bags of Post Mix
- 2.4m–3.0m posts: approximately 3 bags of Post Mix
Note: These are approximate figures and may vary depending on ground conditions.
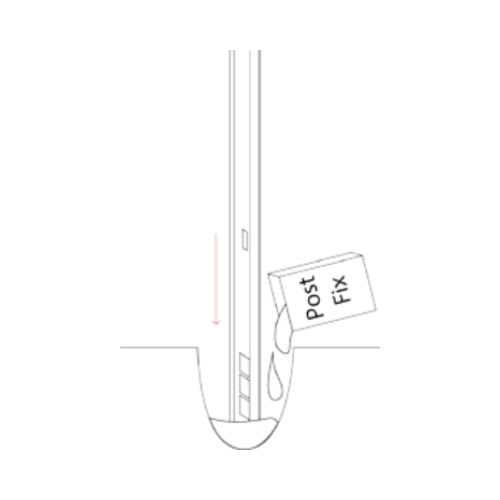
Step 3: Fit rails and fishplates
Once the posts are set and stable, insert fishplates through the upper and lower slots of each post.
Then:
- Attach horizontal rails to the fishplates
- Secure using M12 nuts and bolts
- Identify the top rail by its barbed edge for added security
Step 4: Tighten and secure
Fully tighten all nuts until the hexagonal section shears off, leaving a tamper-resistant cone. This helps prevent unauthorised removal or interference.
Option 2: Bolt-Down Post Installation
This method is best for solid surfaces such as concrete where digging is not possible.
Step 1: Fix posts to the ground
Position posts and secure them using suitable through bolts.
Important: It is the installer’s responsibility to select the correct fixings, as these vary depending on the surface and application.
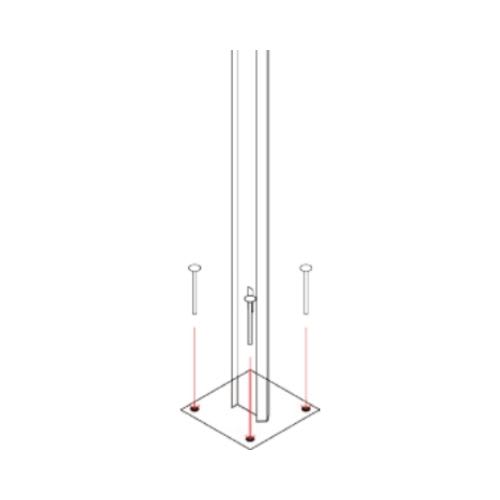
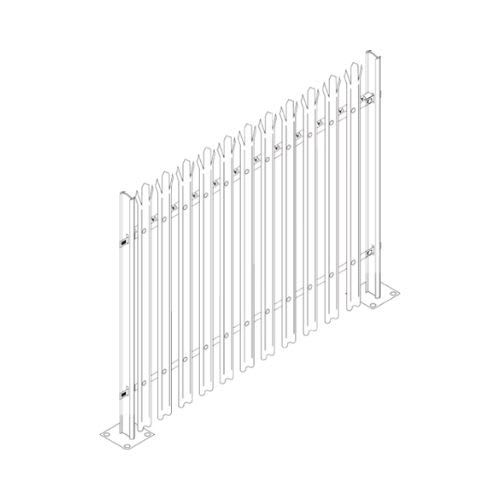
Step 2: Attach rails and pales
Once the posts are secured:
- Fix horizontal rails in place
- Ensure everything is level and aligned
- Attach pales (vertical bars) using M8 nuts and bolts
Make sure:
- The flat ends of the pales are parallel to the ground
- Spacing remains consistent throughout the fence line
Final Checks
Once installation is complete, carry out a full inspection:
- Ensure all fixings are tight and secure
- Check posts are vertical and correctly aligned
- Confirm there are no loose or missing components
A correctly installed palisade fence should be rigid, secure, and resistant to tampering.
Top Tip
Take care during the setting-out stage. Accurate measurements and correct post alignment at the start will save time and reduce adjustments later.
Need help with installation?
Our team can install your palisade fencing and gates for you. Email installation@firstfence.co.uk to book a site survey.
Contact Us
If you have any questions, please get in touch:
- Phone: 01283 512 111
- Email: sales@firstfence.co.uk
- Live chat available on our website