How To Install The UniSlide Kit On Modular Gates
Installing a UniSlide Kit
Learn how to install the UniSlide Kit on modular gates with our step-by-step guide. Designed for Apollo Mesh, EnviroRail Railing, and SpectaRail gates, the UniSlide Kit provides a secure, flexible solution for both single and double-leaf gate assemblies. From understanding compatible gate styles and sizes to detailed installation instructions, this video covers everything you need to know to set up your UniSlide Kit effectively. Each UniSlide Kit is designed to enhance security while providing smooth operation. Whether you’re securing a residential, commercial, or industrial property, these kits are a perfect fit for your modular gates.
Chapters of Video
0:00 - Compatible Gates
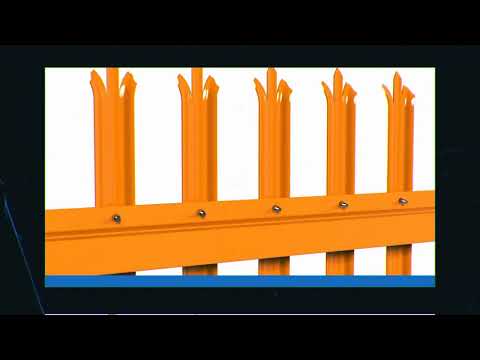
The UniSlide Kit is compatible with Apollo Mesh Gates, EnviroRail Railing Gates, and SpectaRail Gates
0:25 – What is a Modular Gate?
Modular gates feature universally handed gate leaves, meaning they can be installed as either left-hand or right-hand opening. This allows the installer to choose the most suitable side for the specific application.
0:46 – Gate Styles and Sizes
All three gate ranges, Apollo, EnviroRail, and SpectaRail, utilise the same mounting bracket for the UniSlide Kit.
1:08 – Contents of UniSlide Single Leaf Kit (Kit A)
The single UniSlide kit includes a retainer plate, a guide plate, a slider, a handle set with fixings, a 2.5mm hex key, 2 plastic ribbed plugs, four M8 shear nuts, two M8 by 65mm bolts for Enviro Rail, two M8 by 75mm bolts for Apollo and SpectaRail, two M8 by 90mm bolts for 80 millimetre catch posts and two M8 by 110 mm bolts for 100mm catch posts.
1:58 - Contents of UniSlide Double Leaf Kit (Kit A)
The double UniSlide kit includes a retainer plate, a guide plate, a slider, a handle set with fixings, a 2.5mm hex key, 8 plastic ribbed plugs, four M8 shear nuts, four M8 by 65mm bolts for Enviro Rail and four M8 by 75mm bolts for Apollo and Spectarail.
2:44 - Contents of UniSlide Lock Plate Kit (Kit B) For Single Gates
The UniSlide Single Leaf Lock Plate kits come with a branded lock plate and slam plate for a single gate. Please note the SLAM plate for the Apollo Gates comes as a separate kit known as Kit C.
3:17 - Contents of UniSlide Lock Plate Kit (Kit B) for Double Gates
The UniSlide Double Leaf Lock plate kits come with a branded lock plate for the nominated slider leaf and a plain blank plate for the secondary gate leaf to prevent a foothold.
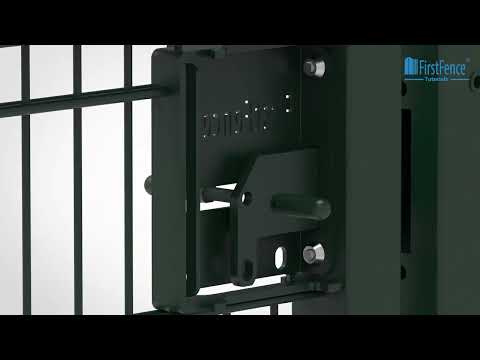
3:47 - Assembly View of UniSlide Single Leaf Kit (Kits A & B)
The slider is designed to be received into a catch post. Ensure the branded plate is installed on the outside of the gate, with the slider on the inside.
4:09 - Difference in Double Assembly Kits
The double assembly kit includes an additional blank locking plate for the secondary gate leaf, along with fixings for secure installation.
4:29 – UniSlide Single Leaf Kit Installation
To install the UNI Slide single leaf assembly, start by inserting the slider bolt through the outer edge slot of the locking plate.
4:36 - Install Slider Bolt
Retract the slider bolt and insert the four location tabs into the four receivers in your gate frame.
4:42 - Insert Guide Plate
Fully extend the slider and position the guide plate over the bolt.
4:50 - Secure With M8 X 75mm Bolts
Fasten the assembly with M8 x 75mm bolts and shear nuts.
4:59 - Shear the Nuts
Use a buzz gun and a 17mm socket to shear off the nuts securely.
5:03 - Assemble the handle
Insert the threaded handle from the outside and the female handle on the inside. Tighten clockwise and secure with M5 grub screws. Tighten clockwise and secure with the two supplied M5 grub screws on the catch post.
5:19 - Install the Retainer Plate
Secure the retainer plate using the appropriate bolts for the post size (90mm for 80mm posts or 110mm for 100mm posts). Shear the nuts with a buzz gun.
5:43 - UniSlide Double Leaf Kit Installation
To install the UniSlide double leaf assembly, start by inserting the slider bolt through the outer edge slot of the locking plane.
5:50 - Insert Location Tabs
Retract the slider bolt and insert the tabs into the receivers in the gate frame.
5:56 - Attach the Guide Plate
Position the guide plate (short slotted side) over the bolt. Remember, the guide plate has the short slot.
6:05 - Secure with Bolts
Fasten the assembly with M8 x 75mm bolts and shear nuts.
6:14 - Shear the Nuts
Use a buzz gun to shear off the nuts.
6:19 - Assemble the Handle
Insert the handle from the outside and secure it with the M5 grub screws.
6:30 - Install the Retainer Plate
For the secondary gate leaf, position the blank locking plate into the receivers. Secure with bolts and shear off the nuts.
6:45 - Add the Padlock
Attach the padlock through the primary leaf for optimal security.
Contact Us
If you have any questions, please call us on 01283 512 111, email sales@firstfence.co.uk, or connect via live chat.