How to Install V Mesh Fencing: A Step-by-Step Guide
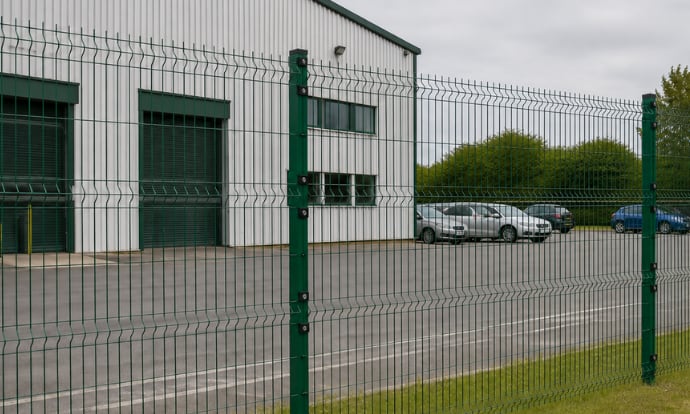
To ensure your fencing system performs as intended, correct installation is essential. This guide outlines the key steps involved in installing V Mesh fencing, whether you're using dig-in or bolt-down posts.
Where Can V Mesh Be Installed?
Due to its versatility, V Mesh fencing is widely used across commercial premises, industrial facilities, schools, public spaces, sports grounds, and residential developments. Whether securing a warehouse perimeter, protecting a school boundary, or enclosing a recreational area, V Mesh fencing provides a reliable and professional-looking solution.
To ensure your fencing system delivers maximum performance and longevity, proper installation is essential. Follow our simple step-by-step guide below.
Before You Begin
Before starting your installation, ensure you have all required components, including fence panels, posts, clips, specialist bolts, torque screws, and any necessary tools and safety equipment. It is also important to confirm boundary lines and check for underground services before excavating.
Step 1: Install the Fence Posts
The first stage of any V Mesh fencing installation is securing the fence posts, which provide the structural support for the entire system.
Dig-In Posts
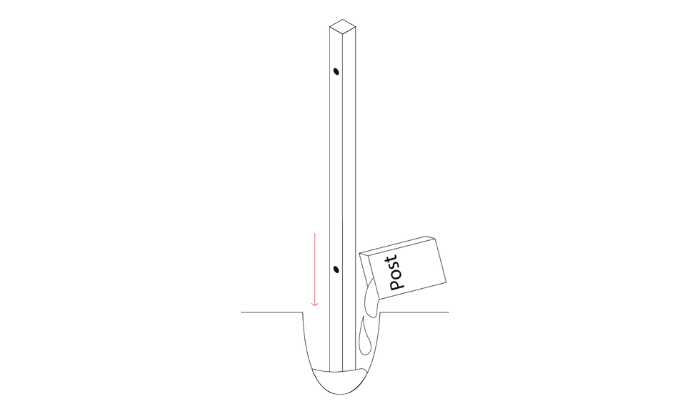
For dig-in posts, excavate foundation holes approximately 500mm deep and 350mm x 450mm wide. The holes should be spaced according to the panel bay width to ensure accurate panel positioning.
Once excavated, place the posts into the holes and set them securely in Post Mix. Check each post is level and aligned before allowing the cement to cure fully.
Bolt-Down Posts
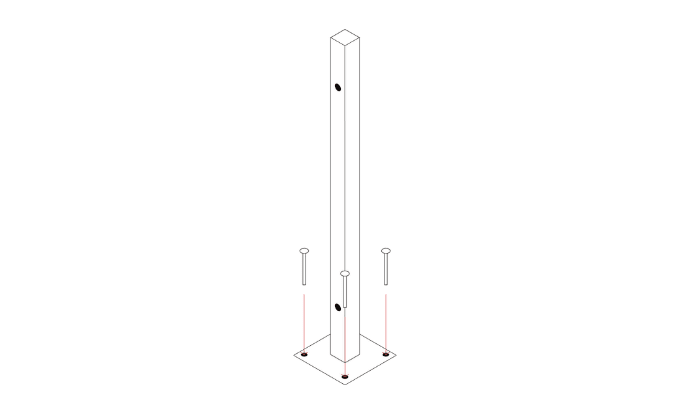
Where installation onto concrete surfaces is required, bolt-down posts offer a practical alternative. Position the posts correctly and secure the base plates using suitable through bolts.
The installer is responsible for selecting the appropriate fixing method and bolt specification to suit the ground conditions and substrate.
Step 2: Position the V Mesh Panels
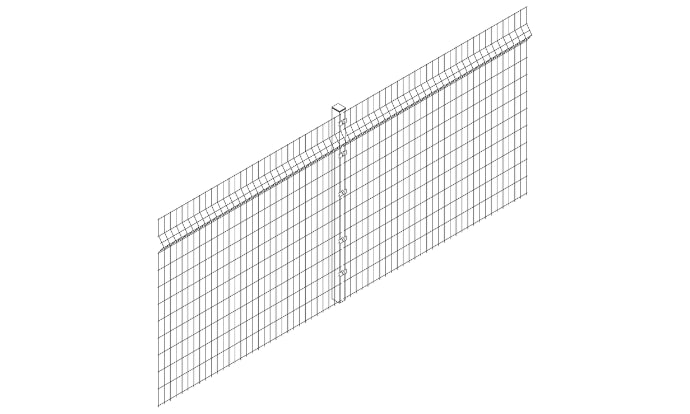
Once the posts have been secured, position the V Mesh panel between the posts.
The rigid V-profile design helps maintain panel strength during handling and installation while ensuring a neat, professional finish. Carefully align the panel to the correct height and position before preparing the fixing clips.
Checking alignment as you progress will help create a straight and consistent fence line across the entire perimeter.
Step 3: Secure the Panels Using Mesh Clips
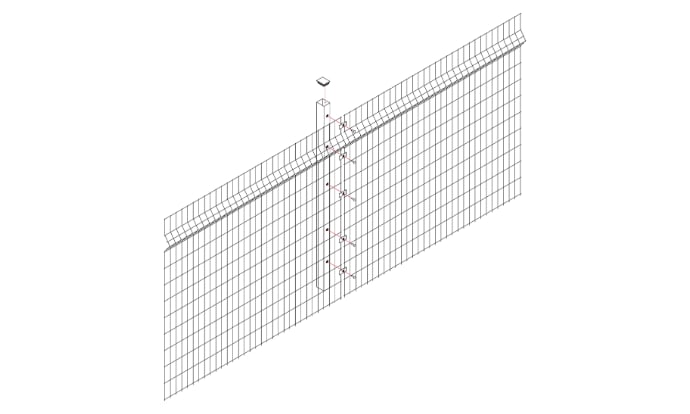
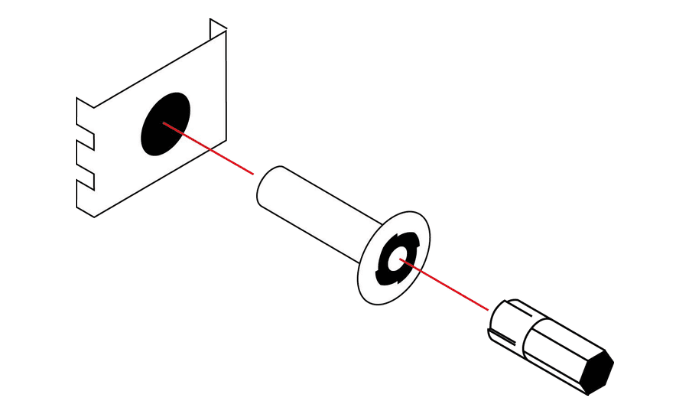
With the panel in position, attach the mesh clips to the posts using the specialist bolts and torque screws supplied with the fencing system.
These fixings are designed specifically for V Mesh fencing installations, creating a secure connection between the panels and posts while maintaining the overall integrity and security of the perimeter.
Continue this process along the fence line, ensuring each panel is securely fixed before moving on to the next section.
Step 4: Tighten and Inspect
Once all panels have been installed, carry out a thorough inspection of the fence line.
Check that all clips, bolts, and torque screws are tightened correctly and that each panel is securely fixed to the posts. Confirm that the fence remains level and aligned throughout the installation.
This final inspection helps ensure the fencing system performs effectively and maintains its appearance for years to come.
The Benefits of V Mesh Fencing
When installed correctly, V Mesh fencing provides a robust and dependable perimeter security solution with several key advantages:
- Enhanced strength and rigidity thanks to the V-profile reinforcement.
- Excellent visibility for CCTV surveillance and site monitoring.
- Anti-climb characteristics due to narrow mesh apertures and limited footholds.
- Durable powder-coated finish for corrosion resistance and long service life.
- Modern, professional appearance suitable for a wide range of environments.
- Flexible installation options with both dig-in and bolt-down post systems available.
A Secure Perimeter for Any Environment
From schools and business parks to industrial facilities, residential developments, and public spaces, V Mesh fencing remains one of the most trusted perimeter security systems available. Its combination of strength, visibility, durability, and ease of installation makes it an ideal choice for sites requiring reliable protection without compromising on appearance.
By following the correct installation process, you can ensure your V Mesh fencing system delivers effective security, clear boundary definition, and long-term performance for years to come.
Need More Help?
Our team of expert installers can install your V mesh fencing and gates for you. Email them at installation@firstfence.co.uk to book a site survey and get a quote for installation.
Contact Us
If you need more information or need to discuss your project further, please contact us. Our sales team is available by:
- Phone on 01283 512 111
- Email at sales@firstfence.co.uk
- Live chat on our website