How to Install Timber Knee Rail Fencing
Installing Knee Rail Fencing
Read this easy guide on how to install your knee rail.
What Tools will I need?
- String Line
- Post Driver
- Tape Measure
- Marker Pegs
- Post Level
- Clawhammer
- Saw
- Spade
- Pencil
Step-by-Step Guide
Step 1:
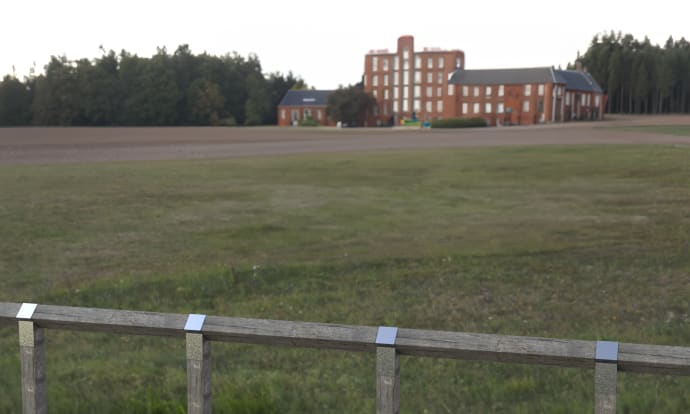
Firstly, assess your site that you are installing on; is the ground clear and the site level?
If not, ensure that this is done first and then have all your tools ready for the job.
Step 2:
Run a level string line to demarcate the level and route of the knee rail to be installed. Then mark the hole locations to be dug based on 1.8m post centres.
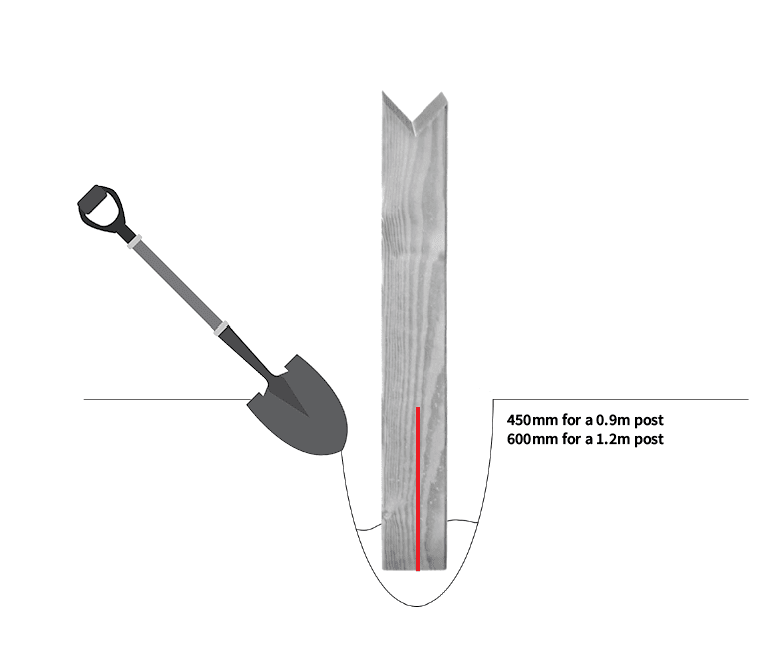
You can then dig the foundation holes for the birdsmouth posts, but it is recommended that 300mm be dug into the ground.
Step 3:
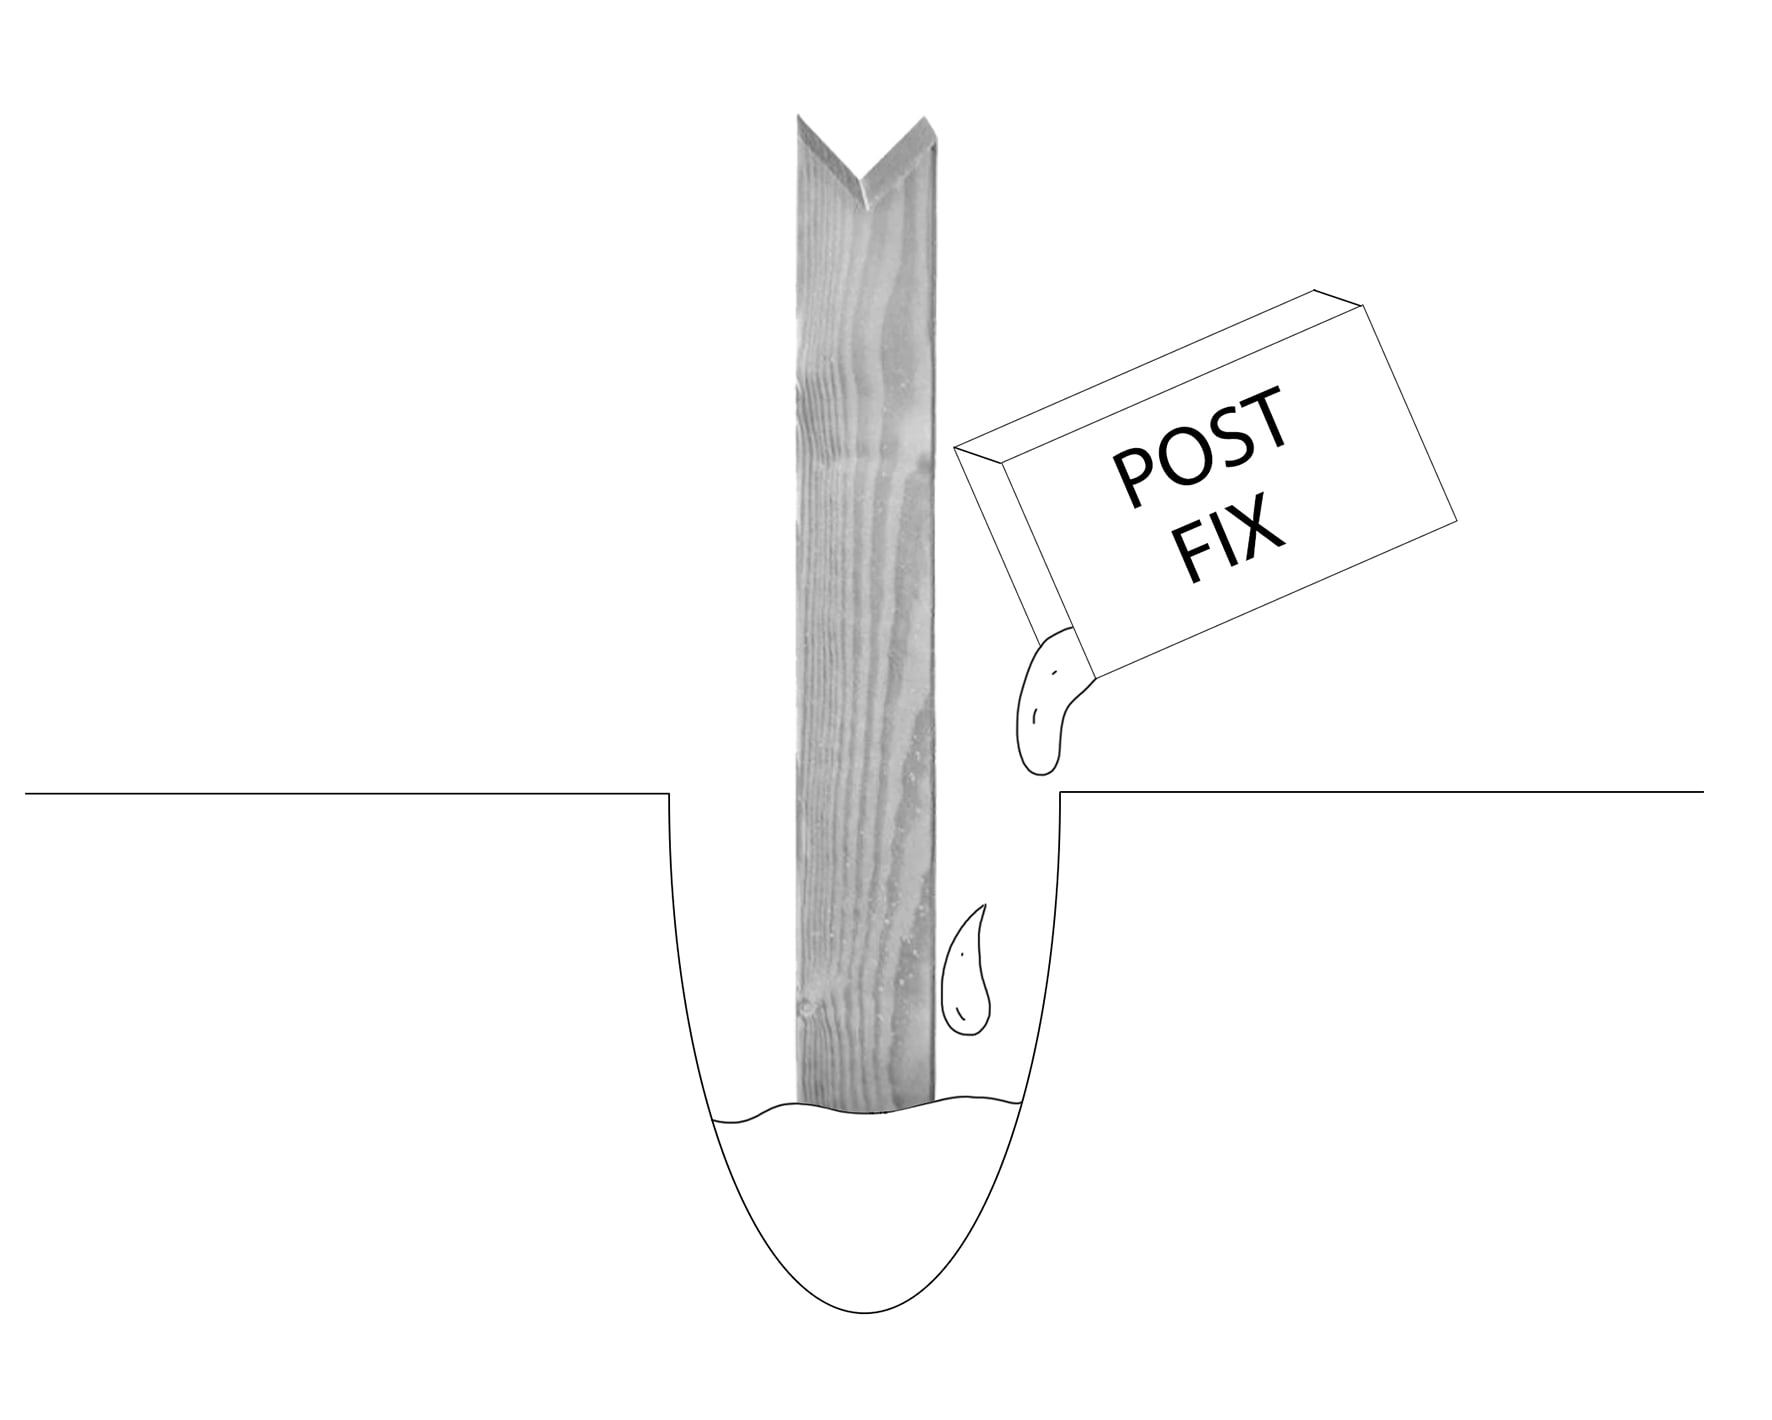
Using Post Mix, follow the mixing instructions on the bag, ensuring two bags are used per hole.
Set the birdsmouth posts, ensuring they remain plumb throughout the initial 30-minute setting process.
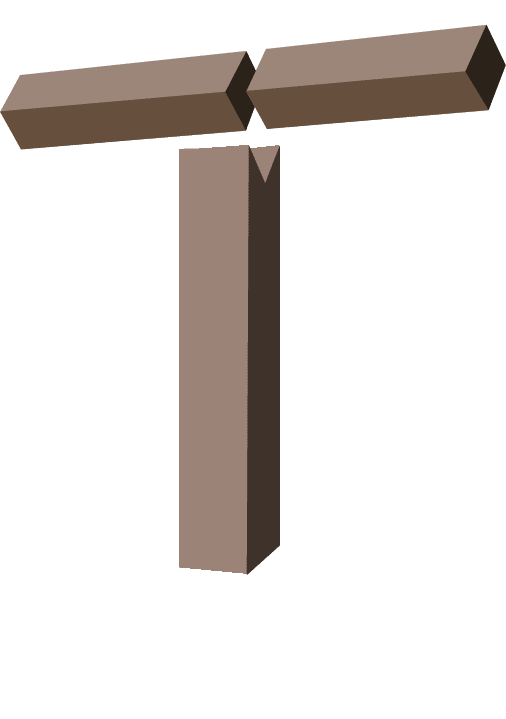
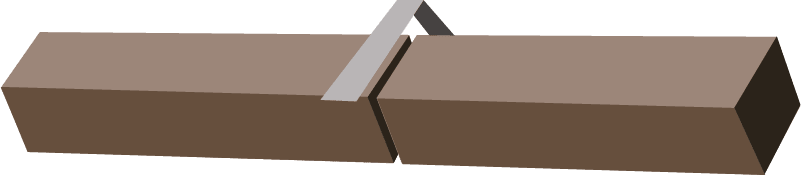
When two birdsmouth posts are in place, you can lye the top rail onto the V notch. You will need to turn the top rail at an angle to match the V notch.
Fix the top rail to the birdsmouth post with galvanised straps and nails. Allow 10mm expansion between rails.
NOTE: All timber posts will require proper drainage so that water doesn’t collect around the posts, as this will cause premature rotting.
Step 4:
The 75mm top rail will use either the V-style or the Shoe style fixing strap. The 100mm top rail will need the Bishop’s Hat style. The straps have pre-drilled holes for the nails to be hammered through.
The V style will need 8 nails per strap, and the Shoe and Bishop’s Hat will need 12.
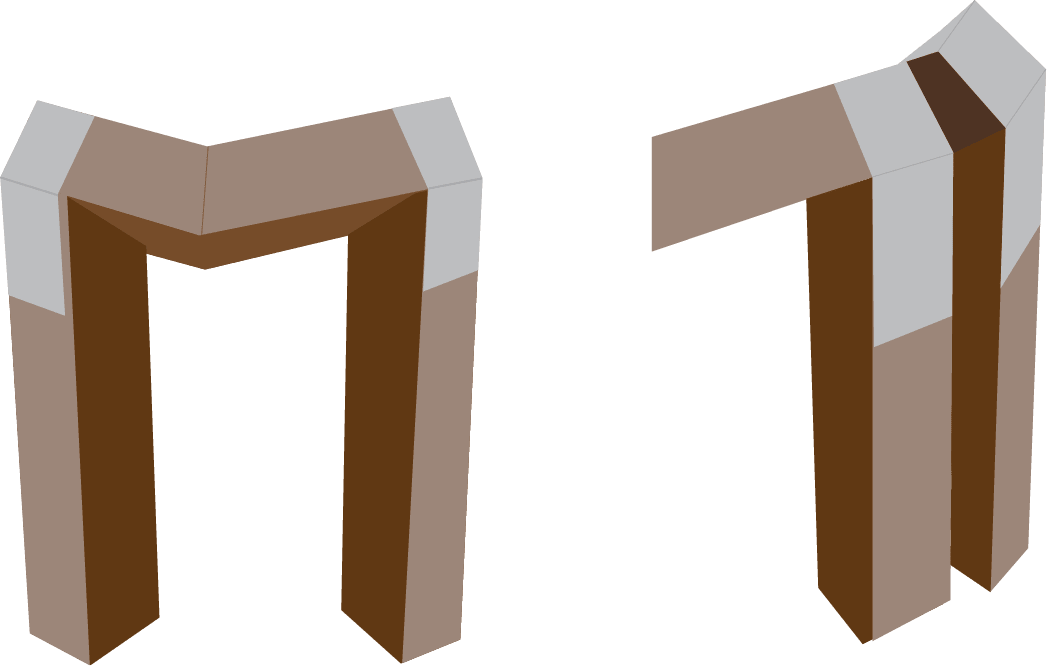
Understanding Corners
Timber knee rail is ideal for creating straight run installations, and with precision cutting of the posts and rails, it can also be employed for constructing curved runs. Another option involves installing two posts side by side, with their birdsmouth V cuts positioned at suitable angles to provide support for the rails.
You can read more about corners in our other blog post, ’ What type of corner should I use for my knee rail’.
Once you have installed your timber knee rail fencing, make sure that you regularly check for wear and tear, any damage and any loose components. This way, you will be able to maintain it where necessary and have a long-lasting product.
You can learn more about maintaining your timber knee rail here.
Remember that careful planning and precision are the keys to a successful installation.
Start by assessing your space and understanding the purpose of your knee rail. With the right tools and materials in hand, follow the step-by-step instructions provided earlier in the blog to ensure a smooth and secure installation process.
By taking the time to install your timber knee rail with care and attention, you can ensure that you have a durable, long-lasting product for years to come.


