What is Palisade Fencing & How to Install It?
What is Palisade Fencing?
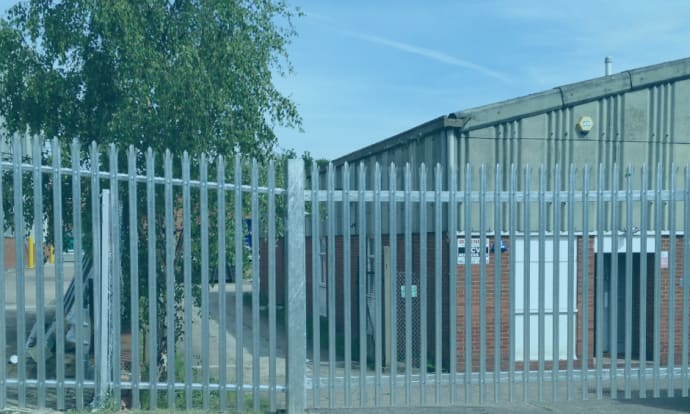
Palisade fencing is a permanent steel fencing option that provides a high level of security. It offers great strength and longevity.
It is also known as one of the more traditional forms of security fencing. Made from cold-rolled steel and galvanised with a protective zinc coating – to prevent rust from developing (the coating meets the BS EN ISO 1461:2009 standard).
Palisade Fencing Applications
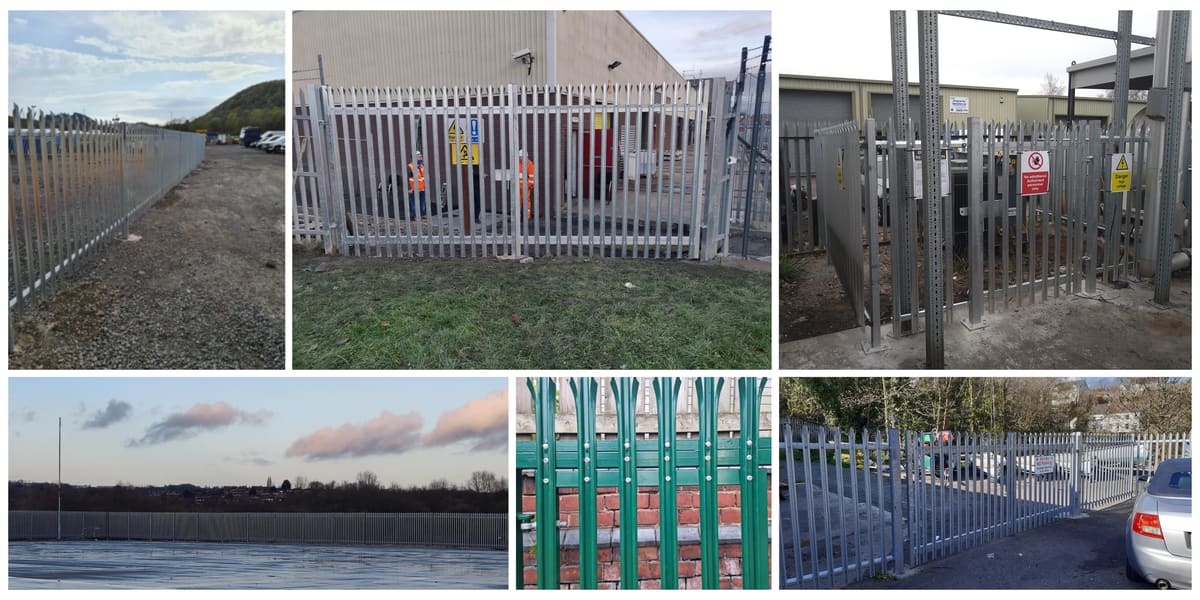
As a high-security option, palisade fencing has a variety of applications. Whether it’s public, private, or commercial property, it can help you protect it.
Not only can your enclosed area be kept secure 24/7 with palisade fencing, but it can also work as an intrusion and theft deterrent.
It can also be used as an effective way to separate the site from its surroundings. Whether it’s on a hard concrete ground or a soft grass field, palisade fencing is designed to remain permanent after installation.
Additionally, the fencing can be installed on both levelled & sloping ground (up to 30 degrees). And be paired with palisade security gates for pedestrian & vehicle access (heights from 1.8m to 3.0m; widths from 1.2m to 10.0m).
For example, it can be used in:
- Schools
- Commercial properties
- Water treatment plants
- Power stations
- Bus & railway stations
- General fencing to establish borders
- Industrial sites
- Securing large amounts of stock (e.g., warehouse)
Why is Palisade Fencing Perfect for Security?
Since there are quite a few reasons why palisade fencing is so effective at security, let’s go over them.
Firstly, palisade fencing pales are made using a ‘cold rolling process’, which makes the steel lighter in weight without compromising on its strength. No heat is used during the shaping of the palisade pales. The steel is passed through numerous rollers at room temperature, where the materials are slowly shaped into the final form.
It’s also galvanised, to protect against rust, and the addition of polyester powder coating increases strength, longevity, and provides a brighter look to the pales. Although the manufacturing of the other palisade fencing parts does involve heat.
Moreover, the top and bottom rails, included in palisade fencing, provide you with additional security by deterring intruders from climbing over. While also using anti-tamper fixings to secure the fencing together. The bolt will fit tightly within the bolthole where the top section of the nut will snap off.
Lastly, our palisade fencing includes W section steel pales, a thinner middle section and thicker edges that curve inwards. The shape of the palisade pales provides even stronger security, strengthening and stabilising the fence. As well as making the fence harder to grip or climb.
How to Install Palisade Fencing?
Since installing palisade fencing can get a bit complicated, we’ve prepared a quick guide on how to do just that!
If you don’t want to install it yourself, we offer an installation service. That will save you energy and time while ensuring the fencing is installed correctly and as securely as possible.
Note: You can also download a PDF version of the Palisade Fencing Installation Guide.
Step 1: Setting up Fence Posts
For installing palisade posts, you’ve two main options: Dig-In Posts (made to go into the ground and secured with a post mix) and Bolt Down Posts (made to be bolted to the ground with anchor bolts).
Dig-In Post installation:
- Dig the foundation holes for all your fencing posts. They should be 2.75m apart, as this is the length of each fencing bay.
- The holes should be 35cm x 45cm wide, depending on the size of your posts, and your hole should be at least 60cm deep.
- Next, set your posts into the foundation holes using Postfix cement. Two bags of cement will be required per post.
Bolt Down Post installation:
- To construct your fencing using Bolt Down posts, you will need to fix them to the ground using suitable Through Bolts.
Please note: it is the responsibility of the installer to ensure the correct type of Through Bolts is acquired and used for installation. Through Bolts have different compatibilities with various ground types, so please ensure that you select the appropriate fixings.
Step 2: Installing the Fishplates
- The Fishplates will need to be placed through the upper and lower slots within the posts. Using the M12 Nuts and Bolts, secure both rails to the Fishplates. You will identify the upper rail as it contains barbs along the top of it.
Step 3: Fixing the pales
- You can fix the pales to the horizontal rails. Ensure that the flat ends of the pales are parallel to the ground. Use the M8 Nuts and Bolts to secure these.
Step 4: Tightening the nuts
- Finally, you can tighten the nuts so that the hexagon-shaped section of the nut shears off, with only the cone section of the nut remaining. This will effectively make your fencing structure more secure and make any attempts at tampering very difficult.
Final thoughts
Palisade fencing is known as one of the most secure fencing options out there. Not only is it made to be durable & sturdy from the manufacturing to the installation process, but it’s also very effective at deterring intruders.
If you need the same/next day delivery of palisade fencing, you’ve come to the right place. Check out our online store and the delivery service.


